Drywall repair is a common task that many homeowners will have to do at some point. Whether the damage is caused by a small hole or a large section of the wall that has come loose, repairing the drywall is a fairly simple process. However, there are a few things you need to know before you get started.
What Is A Joint Compound?
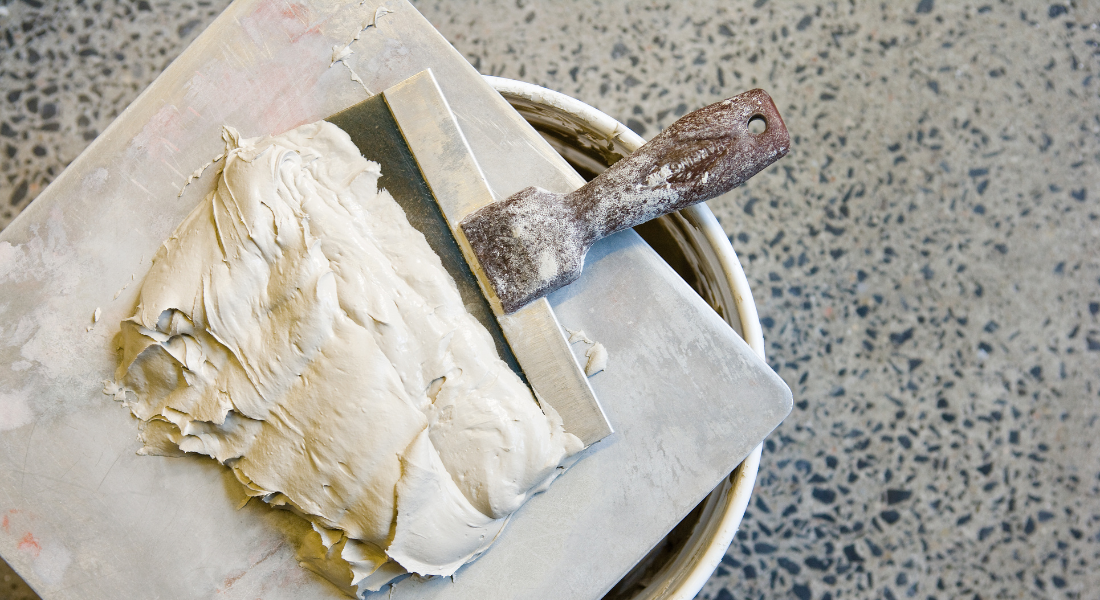
A joint compound is a type of plaster that is used to fill in the gaps between pieces of drywall. It is also known as drywall mud. The compound comes in a powder form and must be mixed with water before it can be used.
When mixed, the joint compound forms a thick paste that can be spread in thin layers over the surface of the drywall. Once it dries, the joint compound will harden and create a sand smooth, seamless finish.
Joint compound is most commonly used for repairing holes in drywall. It can also be used to fill in cracks, gaps, and seams. The compound can also be used to create textured finishes, such as orange peel or popcorn texture.
Types Of Joint Compound
There are two main types of joint compounds: ready-mixed and setting-type. Ready-mixed joint compound is the most common type that is sold in stores. It is pre-mixed with water and is ready to use right out of the container.
Setting-type joint compound, on the other hand, is a powder that must be mixed with water before it can be used. This type of joint compound takes longer to dry but it is much stronger and more durable than ready-mixed joint compound.
Which Jointing Compound To Use?
The type of joint compound you use will depend on the size and severity of the damage. For small holes and cracks, a ready-mixed joint compound is sufficient. For larger holes and cracks, or seams and gaps, a setting-type joint compound is a better option. These types of joint compounds are also better for creating textured finishes.
No matter which type of joint compound you use, be sure to follow the manufacturer’s directions for mixing and application.
Mixing Joint Compounds
Joint compounds can either be mixed by hand or with a drill and mixing paddle. For small projects, mixing by hand is sufficient. To mix the joint compound by hand, simply add the powder to a bucket and slowly add water while stirring. Continue to add water until the joint compound reaches the consistency of pancake batter to fix small holes.
For larger projects or setting-type joint compounds, it is best to mix the compound with a drill and mixing paddle. To do this, add the powder to the bucket and attach the mixing paddle to the drill. Slowly add water to the powder while mixing on low speed. Once the joint compound reaches the desired consistency, increase the speed to medium and mix for an additional minute.
How To Use Joint Compound To Repair Walls?
Once the joint compound is mixed, it is ready to use. For small holes, apply the joint compound to the hole with a putty knife or trowel. For larger holes, it may be necessary to cut a piece of drywall to fit into the hole before applying the joint compound.
- To do this, trace the outline of the hole onto a piece of drywall and cut out the shape with a utility knife. Apply joint compound to the back of the drywall patch and press the drywall screw into the hole.
- Use a putty drywall knife or trowel to smooth out the surface of the joint compound.
- For cracks, gaps, and seams, apply a thin coat joint compound to the surface with a putty knife or trowel. Use your tool of choice to smooth out the joint compound and blend it into the surrounding area.
- Once the joint compound is dry, sand the area smooth with a fine-grit sandpaper. Vacuum up any dust created by sanding and wipe down the area with a damp cloth.
- You may need to apply a final coat of lightweight joint compound depending on the size and severity of the damage. Allow the joint drywall compound to dry completely before sanding and painting.
Repairing Damaged Drywall
Drywall is a common material used in construction and home improvement projects. It is made from gypsum, paper, and other materials. Drywall is easy to work with and can be cut to size with a utility knife. It is also relatively inexpensive, making it a popular choice for many homeowners.
However, drywall is also susceptible to damage. Holes, cracks, and other damage can occur due to accidents or normal wear and tear. When this happens, it is important to repair the damage as soon as possible to prevent further damage from occurring.
Benefits Of Repairing Damaged Drywall
There are several benefits to repairing damaged drywall.
Save Time And Money
By repairing the damage yourself, you can save time and money. Hiring a professional to repair the damage can be expensive.
Prevent Further Damage
Repairing the damage as soon as it occurs can prevent further damage from happening. Ignoring the problem will only make it worse.
Increase The Value Of Your Home
If you are planning on selling your home, repairing the damage can increase the value of your home. Damaged drywall can be a major eyesore and can lower the overall value of your home. Repairing the damage will make your home look and feel better, which may lead to a higher sale price.
Saves Effort
If the damage is not repaired, you will have to deal with it every time you look at it. Repairing the damage now will save you effort in the future.
Final Thoughts
If you have damaged drywall, it is important to repair it as soon as possible. Repairing the damage will save you time, money, and effort in the future. It will also prevent further damage from occurring and can even increase the value of your home. Contact our team to help you repair any damage to your home.